KTM Owners Forum banner

525 RFS 1/6th Valve Adjustment Method Queries

1 reading
16K views 17 replies 4 participants last post by  Miner  
#1 ·
Did a bit of reading up on it and watched a few videos..... my queries:

- How much do you turn the valves down before winding back 1/6th..... literally just seated and no more?

- Setting TDC/adjustment - best way to achieve it?

For the valve setting I saw them putting it into top and turning into one set of valves opened, then adjusted the others..... is it as easy as that?

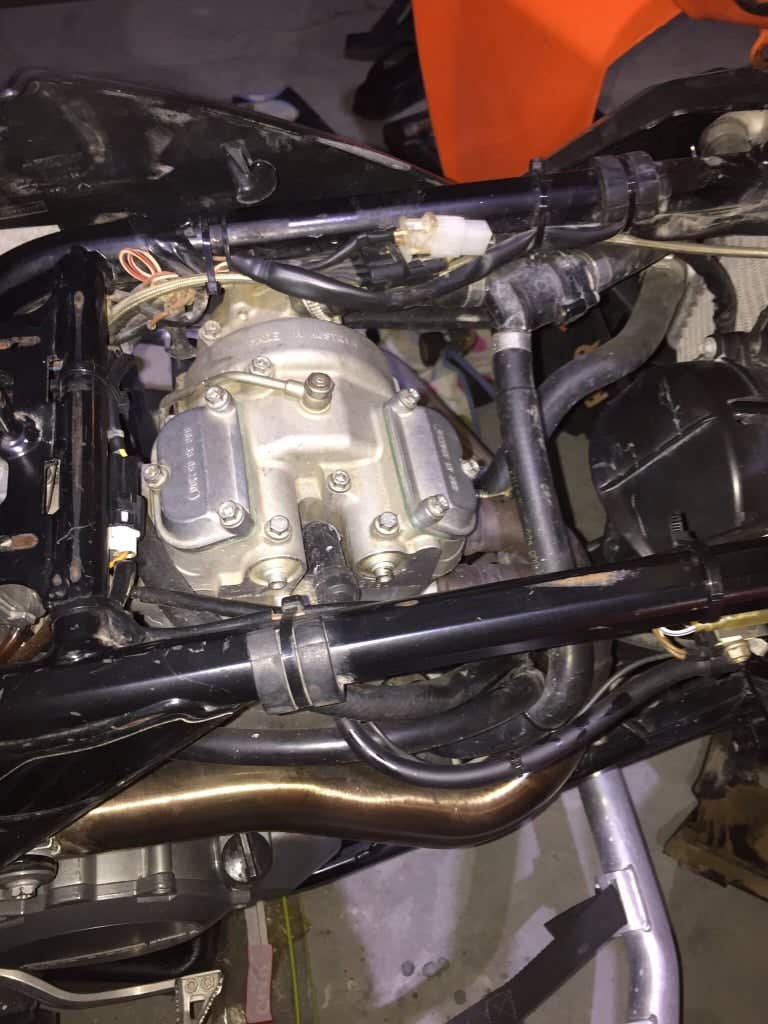
I've found at least one thing that's accessible on the bike....

Image


Sent from my iPhone using Tapatalk
 
#4 ·
Remove the seat and tank. Give the bike a good jetwash if it’s dirty.

Remove the horn and radiator guards. Remove the two bolts that hold on the radiators. Then remove the valve covers

Transmission in top gear, rear wheel off the ground, manual compression release held open with a cable tie at the lever on the head. With an 6mm allen key remove the bolt that is at the front right lower crankcase looking like it is screwing towards the crank (not the 8mm oil strainer that is in the bottom of the gearbox). Remove the thick washer from the bolt and put it safe.

Rotate the engine gently in the normal forward direction with a socket and knuckle bar (not ratchet) on the gearbox sprocket to locate the point where the inlet valve starts to close. Now look up the locking bolt hole with a torch, look for a machined groove in the crank. Turn the crank while looking for the groove, don’t go too far forward or back, half a turn max with the socket. Once you can definitely see the groove, don’t move the crank, screw the locking bolt fully home.

Cut the cable tie off the decomp!!!!!!!!!!!!!!

Adjust the inlet valves, valve clearance is 0.12mm which is 0.005 “ or 5 thou. But you don’t need a feeler gauge! Loosen the locknut and gently tighten the adjuster until you feel the slight resistance of it touching the valve. Now back it off 1/6th turn by lining up the nut with the slot in the adjuster then turn it back one flat. Then tighten the locknut without allowing the adjuster to turn. The locking nuts need to be tight.

Then tie the radiators back tightly with a rope to gain access to the exhaust adjusters. Don’t damage the fins of the radiator by bashing them against the head. I put a piece of cardboard against the left radiator where it presses against the water pump housing. Adjust the exhaust valves to 0.12mm as above.

Then replace the inspection covers and refit the radiators etc. Use blue loctite on the radiator bolts.

Note: with an auto clutch you need to drain the oil and remove the left engine case to turn the crank with a socket as the gearbox sprocket will freewheel.
 
#6 ·
Got a query on this..... doing it now.

Put it in 5th and turned it a few times to check, intake, overlap, exhaust timing phases.... happy that I know where TDC then screwed in the special tool (some 8mm stud bar I cut at work [emoji16]). Rocked it..... definitely locked in place.

Checking all the valves.... all seem tight. So backed off all the adjusters. Can get up to 0.15mm on them.... but not much to back off at all. Should they be that tight adjustment wise?

Experimenting with 1/6th method and feeler gauge to get a feel for it.....

Just a bit wary as first time doing it.... this bike allegedly had a full rebuild about 20hrs ago (blew up, new piston).

If it was all tight and new.... would there not be much room to back off the adjusters?

Have I missed anything?


Sent from my iPhone using Tapatalk
 
#11 ·
Shouldn't have been surprised the battery needed a top up charge....

Can't get it to fire though....

- Battery 7-series Yuasa from CRF450 (bigger) fully charged.

- Valves all set from TDC, double triple checked, before and after locking.... 0.10mm fitted easy, 0.15 didn't... perfect setting?

Now won't crank.... what now?!

https://youtu.be/Ur9RWqn2kGU


Sent from my iPhone using Tapatalk
 
#13 ·
It's running.... but still not right. It was leaking fuel, nipped up the float bowl flange. Stinks of petrol when the fuel cock is turned on.

Started and idling high, choke in and settled to decent idle.... popping when blipped though.

Not going out riding till Sunday and got a whole carb overhaul kit there.... job for tomorrow. Fuel line connection seal had perished and fixed with new o-rings... now not a bad time to strip and rebuild now.


Sent from my iPhone using Tapatalk
 
#17 ·
So for the sake of anyone else finding my post.... I always like to close out with a wee wash up / hands up at the end. [emoji85]

Spot on there Kev regarding the auto decomp, was 180deg out so actually the exhaust valves were loose as feck, struggled to crank.

Got the mrs to help me instead of moaning, had her under the quad looking for the timing mark. Got it lined up, locked it off.... close to the exhaust valves lifting again. Not right.

Plan B - followed the video Pindie posted and Kev's post above.... turned it till one set of valves opened then adjusted the other, vice versa. Inlets were ok, Exhausts were miles out.... answers Ken's point above, explains tappety running.

Fired it up there.... running ok now. TFFT!

Took a slight press of the throttle to get it to go from cranking to firing, idle very low (see below).... revved it/blipped it a few times, no popping/sputtering, nice and clean.

In addition to doing the valves, I fully overhauled the carb with new seal kit and fitted 45 Idle Jet. Smell of fuel gone/leaks gone, mixture screw was wound way out before (assuming to account for 42IJ - it's got an EVO-R big gun silencer on it). Think that's definitely helped.

So to conclude.... if you think you've found compression TDC and the exhaust valves go to open, you are 180deg out! If you think you've locked the crank in the right place, you haven't!

The 1/6th method is a good guide.... once you get the feel for it you won't need feelers. I'm paranoid so I checked then all before and after locking.

Will be a piece of piss next time.... luckily as it's quite often.

Not going to entertain a non-RFS 4T though, my next bike will be a 2T TPI.... I'd sooner take my chances with a sensor than fiddle about with a box of shims![emoji85][emoji1]


Sent from my iPhone using Tapatalk
 
#18 ·
Circa 20hrs later just found that the intake lock nuts are missing.... luckily found stuck to the pulser coil in the flywheel cover. ?

Was certain I’d tightened everything up correctly.... threads didn’t look great but neither did the nuts. Under-tightening = coming off... over-tightening = bust threads after some running hours?

Looks like just getting smashed this public holiday weekend. [emoji57]


Sent from my iPhone using Tapatalk